How do I use Grok Academy's plagiarism detection system?
Grok provides two mechanisms to support plagiarism detection within students' code. Both make use of the approach used by MOSS, a widely used software similarity detection tool.
- Our internal tool uses our own implementation of the similarity checking algorithm used by MOSS. It can be run across each student's entire code history for a problem, allowing common code-sharing tactics to be spotted. For some programming languages (including Python), source-code normalisation and syntactic analysis is used to overcome simple changes made by students to mask their reuse of code.
- Our submission export facility provides Perl scripts to automate the process of uploading exported submissions to the official Stanford MOSS site for analysis. Comparisons are restricted to the final submissions by students, but the source-code normalisation and syntactic analysis is available for a much wider range of languages. See the submission export documentation for more details.
This rest of this page explains how to use our internal tool.
Similarity checking overview
In order to compare two workspaces, the following steps are performed:
- The files in the workspace are combined together to form a single document; then
- (If the language has appropriate support) the documents are normalised to remove unimportant differences such as white-space and variable names; then
- A comparison algorithm is applied to the documents to provide a measure of similarity.
The tool uses our own implementation of the k-gram winnowing algorithm used by MOSS, as described in the SIGMOD 2003 paper.
Incomplete/invalid code
Initial starting code
Creating a plagiarism report
Our tool generates reports for all submissions to a specific problem in a course.
- In your course admin area, select your course and then click the "Student Submissions" button.
- Locate the problem your are interested in.
- Click the "Plagiarism Detection" button for the problem
- (Optional) edit the tool parameters
- Click "Create" to generate a new plagiarism report

Depending upon the number of comparisons required, this report may take a few minutes to complete. When ready, the status will change to "Success" in the list of generated reports.

Tool Parameters
There are 6 parameters for the tool that can be altered from their defaults prior to creating a new report.
- Final docs fingerprint K-gram size (default 5) is the noise threshold k
- Final docs fingerprint T threshold (window = T − K + 1) (default 10) is the guarantee threshold t
- Final docs common fingerprint %age threshold defaults to 0.75
- Final docs common fingerprint size threshold defaults to 10
- Historical docs syntactically valid normalised size threshold defaults to 10
- Historical docs syntactically invalid normalised size threshold defaults to 130
These parameters are very specific to the implementation, and we recommend that you keep to the default values unless you have good reason to do otherwise. You should also consult the winnowing algorithm paper to properly understand the function of each parameter. Note that there is no setting that will guarantee detection of plagiarism: the tool will identify similar documents according to the parameters, but the user must judge through manual inspection whether this is due to plagiarism.
Inspecting a plagiarism report

Each comparison includes:
- Timestamps of each code save for best match between the two students
- Student 1, Student 2 - Links to each student's tutor dashboard summary
- #Hits - Number of high-similarity pairs between items in the two students' code history
- Similarity 1, Similarity 2 - The similarity score between the two students' code, in each direction
- View - Link to comparison between the two students' code histories
Code Comparison
This view lets you inspect the code side-by-side.
 In the left-hand panel you can see the full code history for both students, ordered in time. This includes passing submissions (green), failing submissions (orange) and saved but not submitted code (blue). High-similarity pairs are joined by black lines, and are the plagiarism candidates. Since the entries are ordered reverse chronologically from top to bottom, you can get a sense of when someone might have copied code from someone else.
In the right are side-by-side comparisons of the selected code history items. In the example shown above, the most recent submissions for each student are shown. The regions of high similarity are highlighted - there's just a single region (in pink) but in more complex cases there can be multiple regions, coloured separately. Note that these regions are approximate, since they correspond to locations in the normalised code rather than the those in the original form shown.
You can see that the final submission for the first student is very similar to all of the second student's attempts, suggesting potential plagiarism by the first student. This seems more likely when you see how different the earlier attempt was:
 In fact, the first student appears to have taken a different approach for the previous 5 items in the history, with only slight similarity of two fragments to the second student's code. Student 1 then appears to copy Student 2 (including variable names) after this approach has been shown to pass all tests.
As another example of a common form of plagiarism, the case below shows similarity between two students' in the history, even though the final submissions are very different. In this case it appears that Student 1 copied Student 2's working submission verbatim, and then modified their code to be different. In this case the final approach is very different, with no use of lambdas, but commonly a student may simply edit the code to be cosmetically different while preserving the semantics - in such circumstances the measured similarity changes little.
 Historical Only Listing
 Historical Only Listing
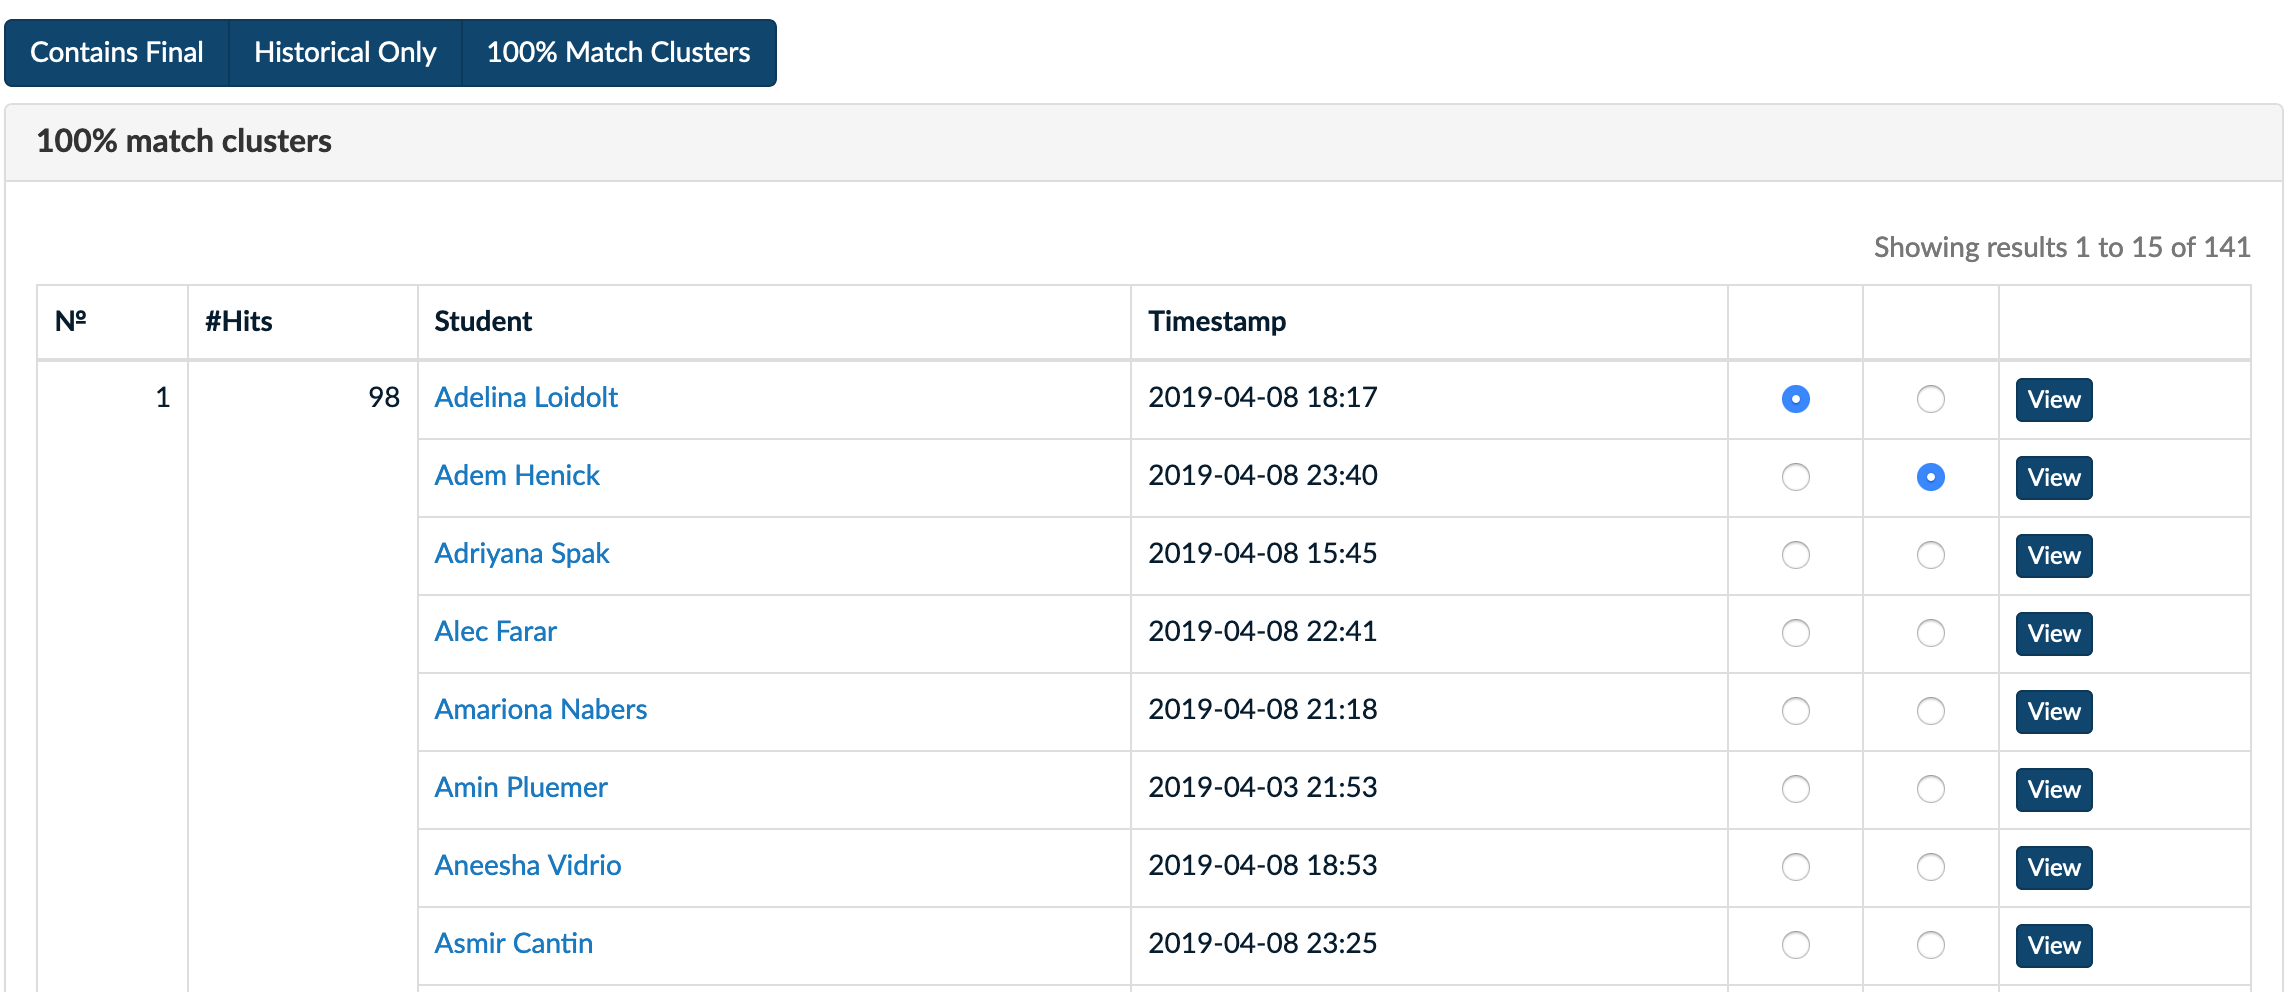
100% Match Clusters Listing